Introduction: Key to a Successful LED Display Installation
Achieving a flawless LED display installation hinges on selecting the right location, installation mode, power supply, and data connections. Poor planning in any of these areas leads to unstable displays, frequent malfunctions, and costly downtime. This guide delivers a step-by-step, expert-approved process to install your LED display confidently, ensuring security, optimal viewing, and long-lasting operation.
Core Pain Points Solved Upfront:
- Where and how to install your LED display for maximum visibility and stability
- How to select power and data setups to guarantee uninterrupted function
- Maintenance and security practices that prolong display lifespan and protect your investment
Step 1: Determine the Optimal Installation Position
Choosing the right installation position is vital. Factors such as audience proximity, viewing angle, and distance directly impact your display’s effectiveness. Mount your LED display close enough for viewers to see content clearly, with a wide viewing angle to cover larger audiences.
| Factor | Recommendation | Reason |
|---|---|---|
| Viewing Distance | Typically 1.5 to 3 times screen height | Ensures legibility without pixelation |
| Viewing Angle | ≥120° horizontally and vertically | Maximizes audience coverage |
| Mounting Surface | Solid, flat, vibration-free wall or bracket | Prevents structural damage |
| Ambient Light | Avoid direct sunlight exposure or glare | Ensures screen clarity |
Pro Tip: Conduct a site survey measuring lighting and space to choose the most strategic spot before installation.
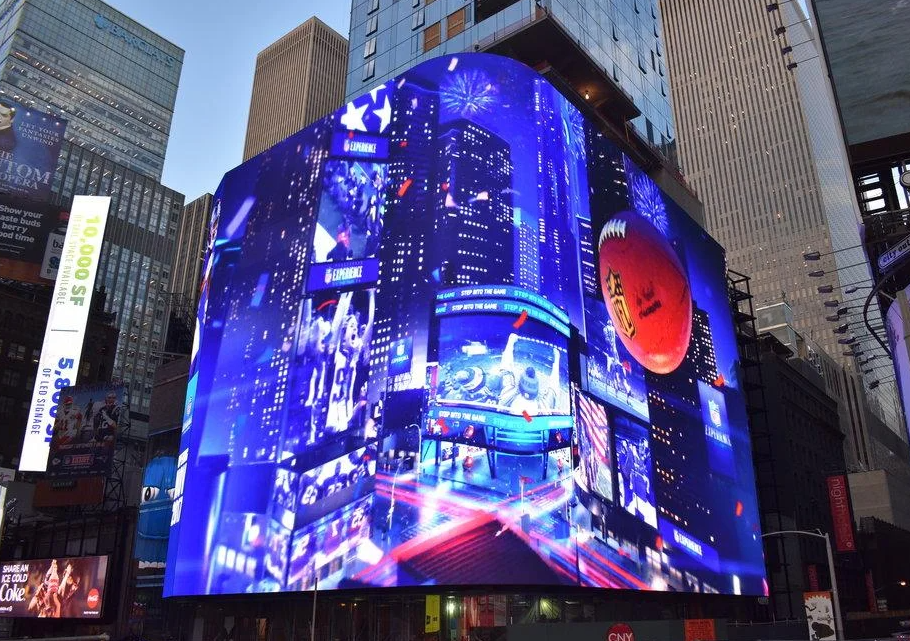
Step 2: Select the Installation Mode Based on Use Case
LED displays come with multiple installation options. Choosing the correct one depends on display size, location, and maintenance access needs.
| Installation Mode | Typical Use Case | Advantages | Disadvantages |
|---|---|---|---|
| Hanging | Large displays in venues & events | Easy maintenance, space-saving | Requires secure ceiling supports |
| Fixed Wall Mount | Small to medium screens indoor/outdoor | Stable & permanent | Harder to relocate |
| Ground Support | Semi-permanent indoor/outdoor | Flexible placement and mobility | Takes more floor space |
Tip: For venues needing frequent cleaning or configuration, hanging installations allow easier access.
Step 3: Power Supply – The Lifeline of Your LED Display
Use a stable power supply matching your LED display’s requirements. Outdated or improperly rated power causes flickering, damage, or failure.
- Voltage & Frequency: Confirm match with manufacturer specs (usually 110/220V at 50/60Hz).
- Wire Load Capacity: Select wiring to handle max current plus buffer for safety.
- Interface Condition: Inspect power cable connectors for corrosion, tightness, and insulation.
- Surge Protection: Install lightning arrestors and stabilize voltage to prevent spikes.
| Power Factor | Recommendation |
|---|---|
| Voltage Rating | Follow manufacturer’s exact specs |
| Wire Type | Copper with insulation, sized per load |
| Safety Distance | Minimum 30cm separation from high heat or moisture |
| Backup Systems | Consider UPS for critical installations |
Step 4: Data Line Connection and Signal Integrity
Accurate data transmission is crucial for smooth visual output. Use high-quality cables and secure connections.
- Cable Specs: Use shielded cables for reduced electromagnetic interference.
- Length Limits: Avoid exceeding recommended cable lengths (often ≤100m for Ethernet).
- Terminal Firmness: Double-check connectors to prevent signal loss.
- Cable Routing: Follow a layout that minimizes crossing power cables and exposure to interference.
Check List Before Final Connection:
- Confirm data cable type matches controller requirements.
- Test signal continuity and quality with proper diagnostic tools.
Step 5: Debugging and Testing to Guarantee Quality
After installation, thorough testing is essential:
- Verify correct content display without dead pixels or flickers.
- Run brightness and color uniformity tests across the panel.
- Perform durability and stress tests simulating continuous operation.
- Check response times for input commands and signal stability.
Step 6: Security Measures to Safeguard Your Display
Protect your investment with multiple security layers:
| Security Measure | Purpose | Implementation Tips |
|---|---|---|
| Lightning Protection | Prevent damage from power surges | Install surge protectors at power entry points |
| Moisture & Dust Proof | Ensure longevity in harsh conditions | Use IP-rated enclosures for outdoor setups |
| Anti-theft Devices | Prevent theft and vandalism | Use lockable mounts and surveillance |
| Fire Safety | Reduce hazards | Keep cables tidy and install smoke detectors |
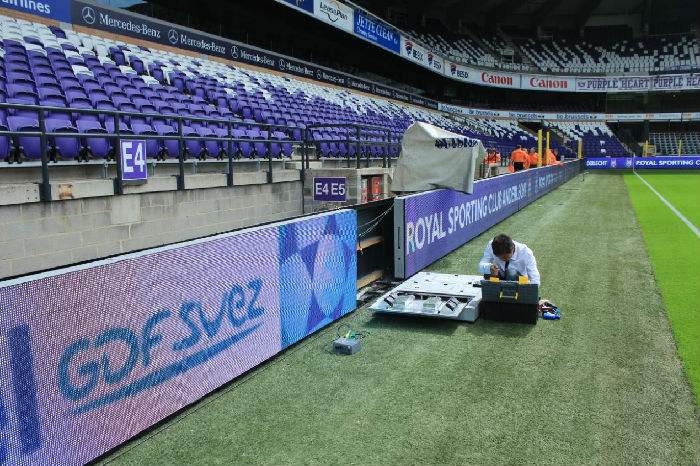
Step 7: Maintenance and Inspection Best Practices
Regular care prevents premature failure:
- Monthly cleaning: Remove dust and residues with soft brushes or air blowers.
- Quarterly inspection: Check for cable wear, corrosion, and mechanical stability.
- Seasonal tuning: Adjust brightness and perform calibration after harsh weather.
- Software updates: Keep firmware and controllers up to date for performance and security.
Step 8: Plan for Future Upgrades and Expansion
Think modular. Future-proof your setup by:
- Using modular LED panels that can be replaced individually
- Reserving extra ports for additional screens or controllers
- Space planning for potential enlargement without major rebuilds
Summary Tables for Quick Reference
| Installation Component | Key Consideration | Recommended Specification |
|---|---|---|
| Position & Viewing | Distance, Angle, Stability | 1.5–3× height; ≥120° angle |
| Power Supply | Voltage, Safety, Surge Protection | Match specs; install surge protector |
| Data Connection | Cable quality, length, EMI | Shielded cables; ≤100m length |
| Security | Lightning, Moisture, Theft | IP rating; locks; surge systems |
Frequently Asked Questions (FAQ)
How often should I perform maintenance on my LED display?
Monthly cleaning and quarterly inspections are recommended to ensure stable operation and prolong service life. More frequent checks may be needed in harsh environments.
Can I install an LED display outdoors?
Yes, but make sure it has a suitable IP rating for weatherproofing, robust mounting, and protective measures against moisture, dust, and lightning.
What are the common causes of LED display failures after installation?
Faulty power supply, loose data connections, insufficient ventilation, and lack of regular maintenance are the main culprits.
How do I future-proof my LED display installation?
Choose modular panels, reserve space and power capacity for extensions, and keep firmware and control software updated.
Conclusion
Installing an LED display in 2026 requires careful consideration of location, installation modality, power, data connections, security, and maintenance. By following this comprehensive guide, you can minimize risks, enhance display longevity, and deliver excellent visual experiences. Always plan ahead for future upgrades to safeguard your investment.