Sostron is an LED display solution provider with 16 years of experience in the display industry. We design, produce, install, and operate LED displays for retail stores, hotels, restaurants, etc. around the world.
After years of industry experience, we are able to design better screens and provide better solutions for our customers and partners. We have provided thousands of screens to customers and partners such as retail stores, public transportation, hotels, restaurants, etc. Shichuang Intelligence has become one of the trustworthy brands in the industry. Do you know how to find a Chinese LED screen factory?
Indoor LED display installation steps and methods
1. LED display planning:
The planning of LED display screen mainly includes the following aspects:
Screen size and resolution: Determine the screen size and resolution according to the installation environment and usage requirements.
Dot pitch: The dot pitch refers to the distance between two adjacent LED lamp beads. The smaller the dot pitch, the more delicate the display effect.
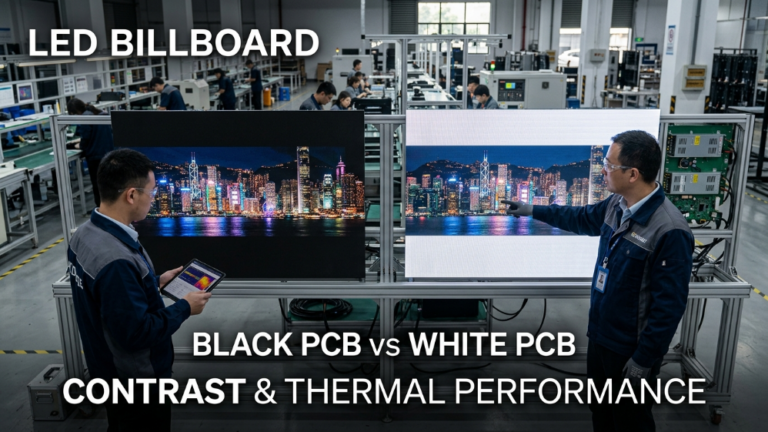
Brightness: Brightness refers to the display brightness of the LED display. Generally, the brightness of outdoor displays is higher than that of indoor displays.
Color: The color performance of the LED display mainly depends on the quality of the LED chip.
When installing an indoor LED display, the common method is to buy frames, modules, cables, power supplies, control cards and other materials to assemble the LED display yourself. So how do you assemble the modules into a large LED screen? , and use it normally? The installation steps are explained in detail below.
2. Calculate the size:
According to customer needs, a p1.5 unit board full-color module was selected, with a size of 320*160mm, 15 blocks long and 12 blocks high. This color screen shared 180 modules. 320*15 = 4800mm, 160*12 = 1920mm, the net area is 4800mm You can’t see it from the front when you go to the top), the frame size is 4810mm*1930mm.
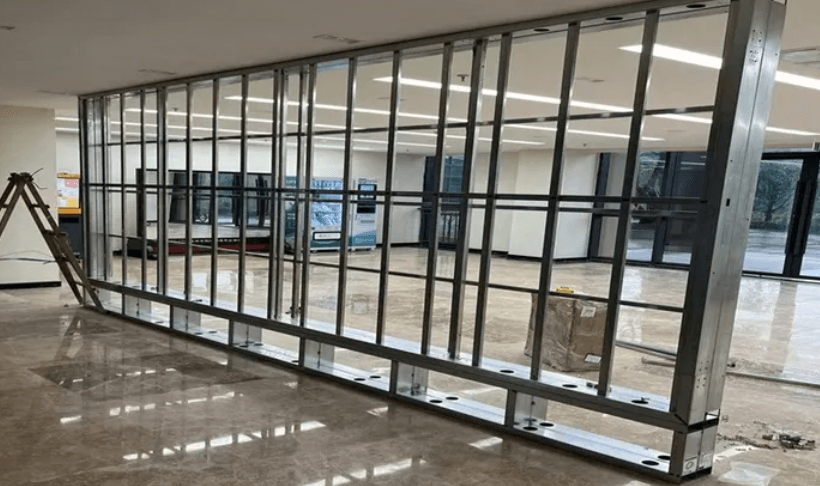
3. Install and fix the frame
Depending on the display size. Buy 4 pieces of 4*4 square steel from the market and 4 pieces of 2*2 (6 meters long). First use the 4*4 square steel to make a field frame (can be customized according to your own situation). The size of the large frame is 4850mm*1970mm, because the size within the small frame is the size for installing the screen, and the square steel is 40mm, so this size is used to fix each square steel by drilling holes with screws to form a whole frame.
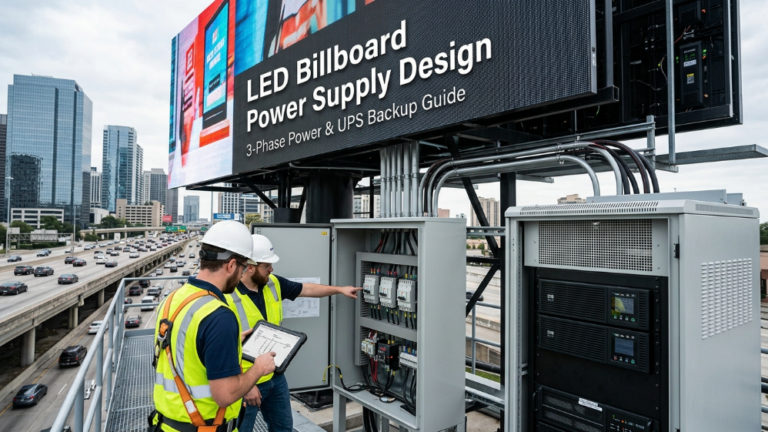
4. Install the power supply and control card
After the shelf is hung, leave a gap of about 10mm around it. Because the indoor screen cannot be made into a box frame with a fan, the only way to provide simple ventilation is through this 10mm gap. When installing the power supply, first connect the two finished power cords. The positive and negative poles of the 5V output must be checked, otherwise the power cord, module and control card will be burned. Each finished power cord has two connectors, so each power supply can carry four modules. Then there is a 220V connection between the power supplies. Just use 2.5 square meters of soft copper wire to string each row together. Finally, a set of 220V power supply wires are produced and connected to the circuit breaker terminal of the power distribution cabinet.
The cables from the power distribution room to the LED display power distribution cabinet must be laid out before installing the screen. After the power supply is connected, the control card is installed. The control card used here is a synchronous receiving card. For the layout of the entire power supply and control card, the LED display screen comes with a “Power Supply and System Wiring Diagram” before leaving the factory. As long as you strictly follow the wiring diagram, you will not go wrong. Generally, engineers can estimate the wiring method based on the number of power supplies and cards.
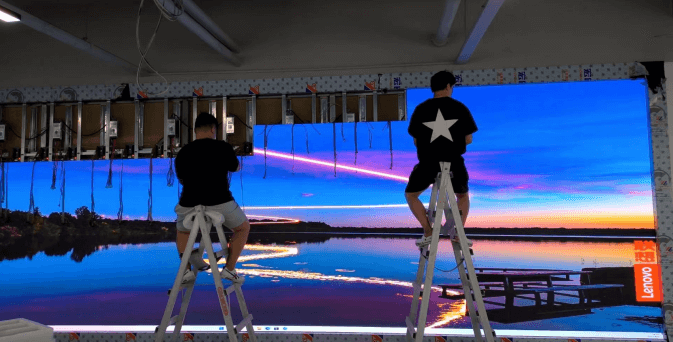
5. Install the module
Connect the receiving card cable to the module, and install the modules one by one. The normal order of installation is: from bottom to top or from the middle to both sides. There is also a lot of controversy about this installation method. The main purpose of installing from the bottom is to keep the horizontal and vertical levels within the normal control range. Especially when the screen area is larger, it is easier to lose control, especially the small spacing requirements are higher and there are some gaps. If the requirements are not met, fine adjustments are required. Engineers who have installed small pitches all know that even if a precision mold comes out of the module or box, there will still be errors. A few misaligned wires will cause the entire row to be misaligned.
Secondly, installation from the middle to both sides can be divided into two groups or even four groups of personnel to work separately, saving installation time. Even if there is an installation misalignment problem, it will basically not affect the progress of another group of people.
Install the cables that come with the module according to the drawing. The short cables are used to connect modules. The long cables from the control card to the module must be installed according to the length of the cable sequence. The top and bottom ones are used. The cable is longer, about 1.5 meters long here.
6. Debugging and lighting up the screen
After installing one card of the four-row module, power it on and test it. If there are any problems, solve them in time, because if you install the next group, the card will be covered and cannot be tested. In addition, if you continue to install it, you will not be able to find the problem in time. If all are installed, , and then find the problem point and dismantle the installed module, the amount of work will be much larger.
There is a test button on the control card. Just after powering on, you can use this method to test first. If the installation is normal, the screen will display red, green, blue, line, field, and point information in sequence, and then test the control computer again, mainly To test whether the network cable communication is normal. If normal, then install the next group until the installation is completed. Here are the wireless LED display technology answers.
7. Use of LED
The display effect of LED will be different before and after use. Before use, the LED display screen needs to be debugged to achieve the best display effect. After being used for a period of time, due to the characteristics of the LED light, the color and brightness may change. There will be changes. In order to ensure the display effect, we usually need to calibrate the color and brightness. In addition, the display screen after use may have uneven or blurry display problems due to dust, humidity, light environmental factors, and this needs to be performed regularly. Cleaning and maintenance.
Sostron Intelligence provides 24-hour service, official website: https://www.sostron.com/
1. Online services
We provide online training courses/FAQs/live chat for customers/engineers where you can find answers immediately before contacting someone else.
If your problem isn’t resolved, real-person help is just a few clicks away and we’ll contact you within minutes.
2.CMS remote assistance
Thanks to Shichuang Intelligent CMS system, we can remotely control the customer’s screen. We can assist with installation, troubleshooting, remote real-time monitoring, and operation.
3. We understand LED display screen
In order to provide better service, we have a team that has been working in the field of LED screens for many years, and our employees are all product experts and can speak English. We fly around the world to help customers with local training, on-site installation and troubleshooting.
We trust our own monitors and we believe it will benefit our customers.
4.24 hours reply
Answering calls and responding to emails within 24 hours is the cornerstone of our service.
5. Keep smiling
Attitude is everything, and we always maintain a positive attitude when providing customer service, even if it’s not face-to-face.
6. Active listening
Pay attention to your feedback, then review the data and listen to your issues in real time, which will effectively solve the problem and make the customer happier.