If your LED display looks washed out, is causing eye strain, or looks terrible on camera, you need to adjust its brightness and contrast immediately. After spending over a decade calibrating commercial LED video walls and outdoor DOOH billboards across the globe, I can give you the definitive answer right now: You do not adjust an LED screen like a standard TV monitor.
To adjust an LED display, you must use the manufacturer’s specific control software (such as NovaLCT or Colorlight LEDVision) connected via a primary sending card. Alternatively, for outdoor displays in 2026, the industry standard is to automate this process using an ambient light sensor connected to a multi-function card, ensuring compliance with local light pollution laws.
Below, I have outlined the exact software steps, the correct nits (brightness) settings for 2026 environments, and how to avoid the most common mistake: destroying your screen’s grayscale depth by manually dropping the brightness slider too low.
The 2026 Standards for LED Brightness (Nits)
Before you open your control software and start moving sliders, you must know your target metric. Display brightness is measured in “Nits” (candelas per square meter – cd/m²).
One of the most frequent mistakes I see junior AV technicians make is running indoor screens at 100% capacity. An LED wall is essentially a massive wall of lightbulbs. Running it at maximum indoors will physically hurt the viewers’ eyes and degrade the LED diodes rapidly.
Here is my tested, standard calibration table for 2026:
| Operating Environment | Target Brightness Level | Recommended Contrast Ratio |
| Corporate Boardroom / Office | 500 – 700 nits | 3,000:1 to 5,000:1 |
| TV Broadcast Studio (On-Camera) | 800 – 1,000 nits | 7,000:1 (COB preferred) |
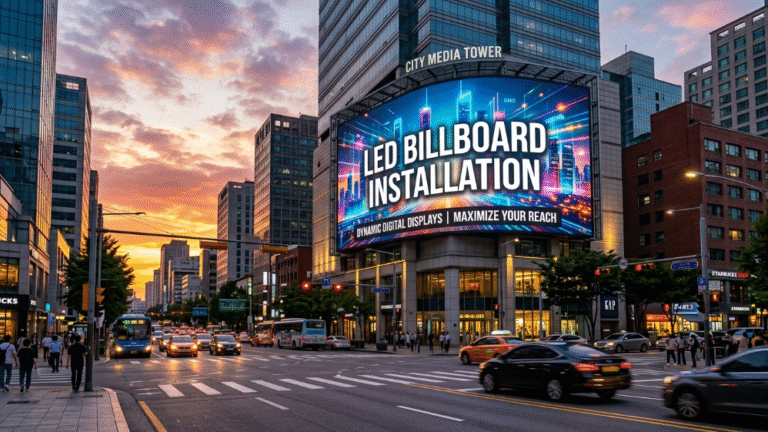
| Retail Window (Facing Street) | 2,500 – 4,000 nits | 5,000:1 |
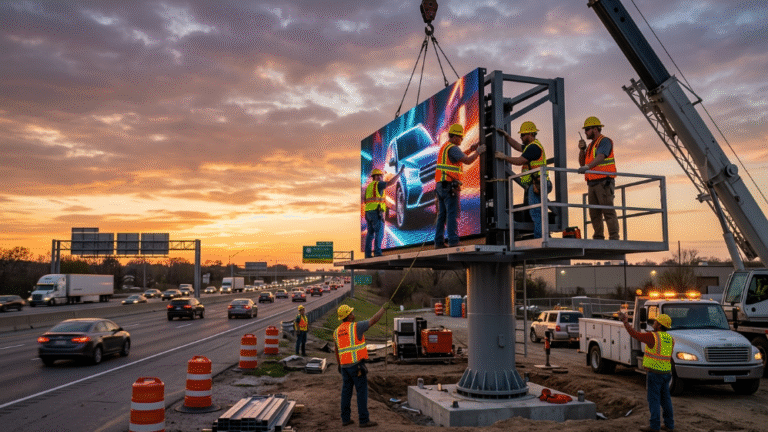
| Outdoor DOOH (Daylight) | 6,500 – 8,000 nits | 5,000:1 to 8,000:1 |
| Outdoor DOOH (Nighttime) | 800 – 1,200 nits | Dynamic |
Expert Tip: Many modern municipalities strictly regulate nighttime outdoor brightness to prevent light pollution and traffic hazards. Always configure your display to automatically dim after sunset.
Method 1: Manual Software Adjustment (NovaLCT Guide)
Since Novastar controls the vast majority of the global market, I will use NovaLCT as the benchmark for this tutorial. If you use Colorlight or Brompton, the logic remains identical, though the UI will differ slightly.
To manually adjust the brightness and contrast:
-
Connect Hardware: Ensure your control PC is connected to the LED Sending Card (or video processor) via a USB or Ethernet cable.
-
Open NovaLCT: Launch the software and click on User > Advanced Synchronous System User Login.
-
Log In: The default administrator password for Novastar is usually admin.
-
Access the Control Panel: Click on the Brightness icon on the main toolbar.
-
Adjust the Slider: You will see a slider indicating brightness percentage (0% to 100%). Drag the slider to your desired level based on the environment table above.
-
Save to Hardware: Crucially, clicking “Apply” only changes it temporarily. You must click Save to Hardware (or “Save to RV Card”); otherwise, the screen will revert to its blinding 100% default the next time it loses power.
Method 2: Scheduled Brightness Adjustment
For screens operating 24/7—such as storefronts or control rooms—manually adjusting the slider every morning and evening is completely unfeasible. In 2026, scheduled adjustment is standard practice.
Instead of dragging the manual slider, you will use the software’s timing features.
-
In NovaLCT’s Brightness menu, select Auto Adjustment.
-
Choose Advanced Adjustment or Scheduled Adjustment.
-
Add a schedule. For example:
-
07:00 AM: Set to 80% brightness (to combat morning glare).
-
12:00 PM: Set to 100% brightness (peak sunlight).
-
18:00 PM: Drop to 40% brightness (sunset).
-
22:00 PM: Drop to 15% brightness (nighttime operation).
-
This method extends the lifespan of the LED diodes significantly. Operating a screen constantly at 100% generates immense heat, causing premature color degradation and hardware failure.
Method 3: Automated Hardware Sensor Adjustment
If you manage an outdoor digital billboard, scheduled adjustments aren’t entirely reliable. What happens if a massive thunderstorm rolls in at 1:00 PM? A scheduled 100% brightness setting will suddenly blind drivers because the ambient light has plummeted.
The professional solution is an Ambient Light Sensor (such as the Novastar NS060) integrated with a Multi-function Card.
-
How it works: A physical photosensitive probe is mounted to the exterior frame of your LED screen. It reads the ambient light levels (lux) in real-time.
-
The Configuration: Inside your software, you create an environmental mapping curve. For instance, you tell the processor: “If the ambient sensor detects 50,000 lux (bright sun), push screen to 100%. If the sensor detects 50 lux (midnight), drop screen to 10%.”
-
Why it’s necessary in 2026: AI-driven smart city grids and strict road safety regulations now mandate autonomous brightness adaptation to prevent traffic accidents caused by blinding digital signage.
How to Properly Tune Contrast and Gamma
Many users complain that their screen looks “washed out” and automatically assume they need to lower the brightness. In reality, the issue is poor contrast.
Contrast is the ratio between the brightest white and the darkest black the screen can produce.
Software Adjustment (Gamma Calibration)
Unlike brightness, which has a simple 0-100% slider, software contrast is heavily tied to the Gamma curve.
-
In your control software, navigate to Screen Configuration > Color/Image Adjustment.
-
Locate the Gamma settings.
-
The industry standard Gamma value is 2.2 for standard viewing or 2.6 for high-end cinematic displays. Lowering the Gamma makes the image look washed out and foggy. Raising the Gamma makes the dark areas too dark, crushing shadow details.
-
Fine-tune RGB contrast independently only if a specific color (like red) is overpowering the white balance.
Hardware Contrast Considerations
If your software settings are perfect but the image still lacks punch, you have an environmental or hardware issue:
-
Ambient Light Rejection: If direct sunlight is hitting your indoor screen, no software tweak will save the contrast. You need anti-glare coatings or physical shading.
-
LED Masking: High-contrast screens use dark black plastic louvers (masks) over the SMD diodes.
-
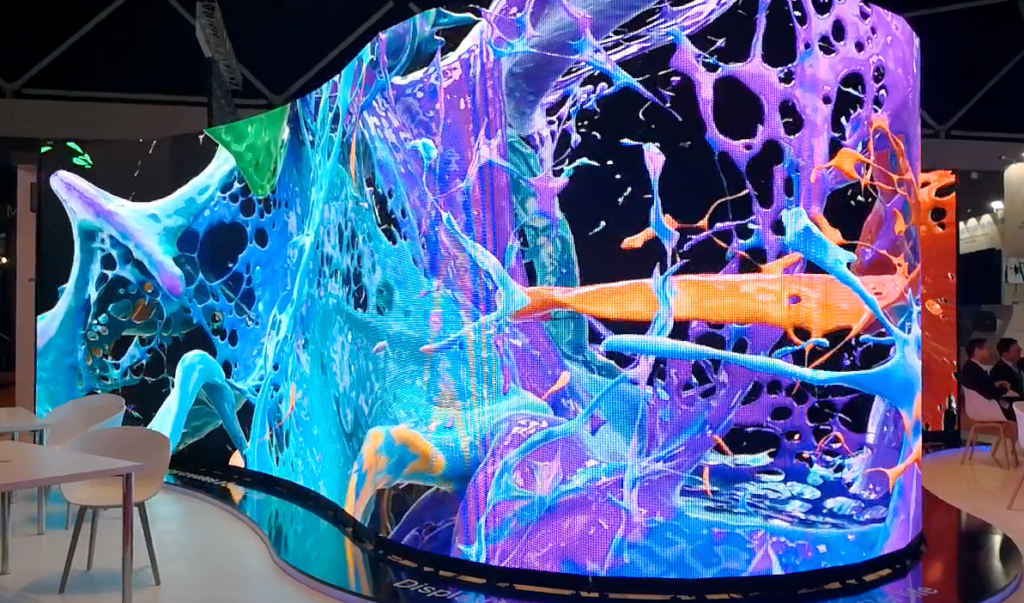
COB Technology: If you require perfect, OLED-like contrast, 2026 integrations rely heavily on COB (Chip-on-Board) screens. Because COB eliminates the reflective plastic packaging of traditional SMDs and uses a deep black epoxy resin surface, the contrast ratios naturally exceed 10,000:1.
The “Low Brightness, Poor Grayscale” Problem
This is the most critical technical insight in LED calibration, and one that separates professional engineers from amateurs.
When you drag a brightness slider down to 10% on a standard, low-budget LED screen, the image doesn’t just get darker—it gets ugly. Gradients become blocky, skin tones look heavily pixelated, and shadows turn into a muddy mess.
Why does this happen?
LED screens dictate color depth using grayscale (typically 14-bit or 16-bit). When you reduce the brightness via software on cheap sending/receiving cards, the processor mathematically discards grayscale data. A screen that outputs 16-bit color at 100% brightness might only output 8-bit color at 15% brightness.
The 2026 Solution:
If you are operating a screen indoors where it will permanently live at low brightness (e.g., 600 nits), you must ensure your hardware utilizes “Low Brightness, High Grayscale” processing.
-
Always specify premium receiving cards (like the Novastar Armor Series A8s or A10s Pro) that feature advanced 18-bit+ processing and 22-bit+ image enhancement algorithms.
-
These cards re-map the color data so that even if the screen is running at 5% physical brightness, the visual gradients remain perfectly smooth, which is absolutely mandatory for xR virtual production studios and broadcast television.
Frequently Asked Questions (FAQ)
Can I adjust the brightness with a TV remote?
No. Commercial LED video walls are not televisions. They lack built-in consumer operating systems. All brightness and contrast adjustments must be executed through the video processor’s dedicated software (via a connected PC) or a physical knob on the front panel of the primary sending controller (like the Novastar VX6s or VX1000).
Will maximum brightness damage my LED screen?
Yes. Operating an LED display at 100% brightness 24/7 generates excessive thermal loads. This heat degrades the LED chip, leading to “dead pixels,” rapid color fading (especially the blue diodes), and significantly shortens the hardware’s 100,000-hour estimated lifespan. Always run screens at the lowest comfortable brightness level.
Why does my screen flicker when I lower the brightness?
This is a classic refresh rate conflict. When you lower the brightness on inferior IC drivers, the pulse-width modulation (PWM) frequency slows down, causing a visible flicker to the naked eye or on camera. To fix this, you must upgrade to high-refresh-rate driver ICs (3840Hz or 7680Hz) that maintain high frequency even at low grayscale levels.
How do I fix the color temperature?
If your screen’s contrast looks off because the whites look too “blue” or too “yellow,” you need to adjust the Color Temperature, not the contrast slider. In your control software, find the Color Temperature interface and set it to 6500K for a warm, cinematic look, or 9300K for a bright, clinical, outdoor advertising look.