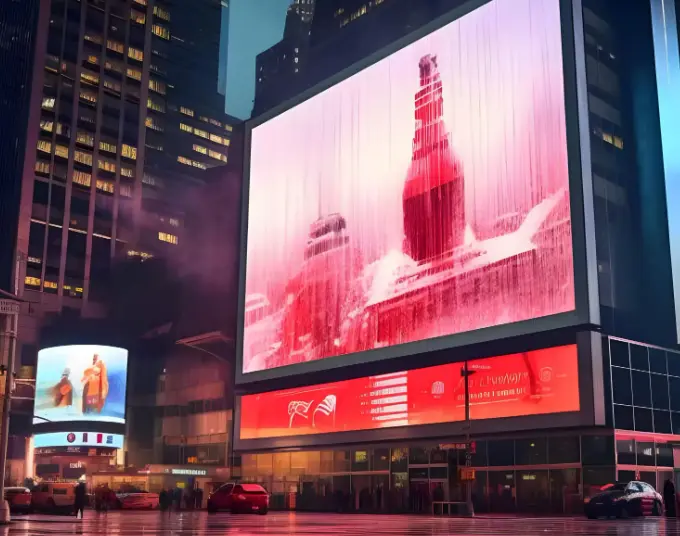
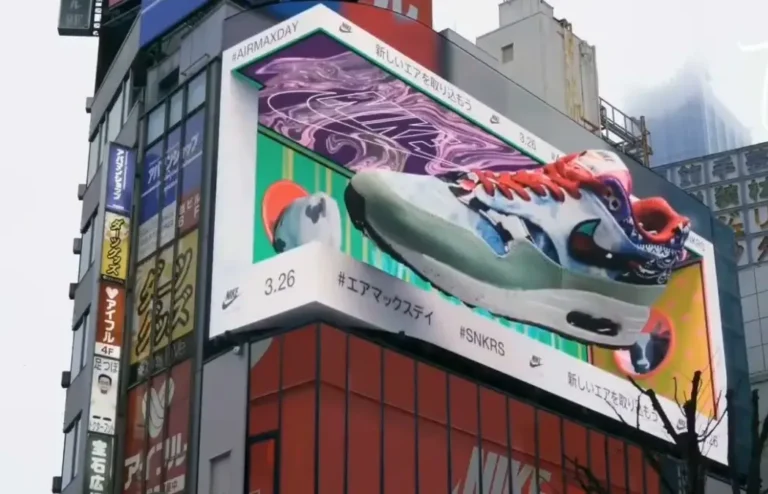
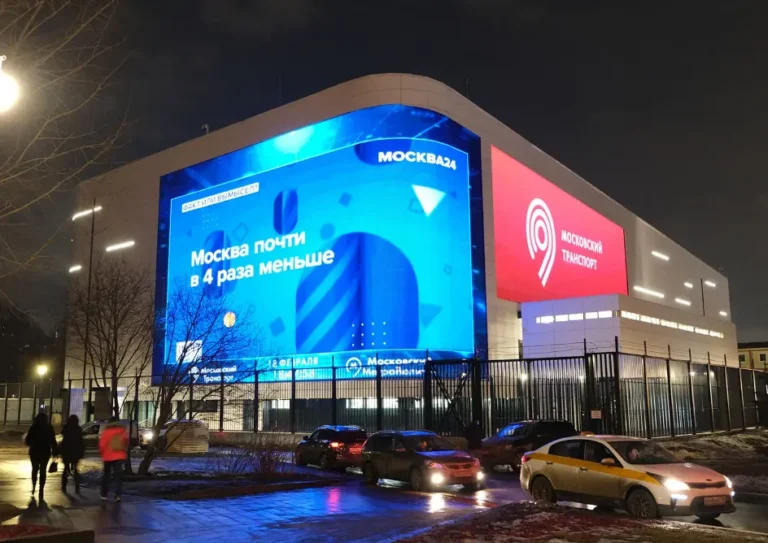
If you’ve seen a giant wave crash out of a Seoul skyscraper screen or a panda claw its way out of a Chengdu building façade, you’ve already witnessed a 3D LED billboard in action. What most people — including many buyers evaluating their first installation — don’t realize is that the screen itself is completely flat.
There are no 3D glasses. No holographic projectors. No lenticular lenses hidden behind the panel. The entire effect is an anamorphic illusion: content deliberately engineered to look distorted when viewed head-on, but perfectly three-dimensional when seen from one specific angle on the street below. The hardware makes the illusion physically possible; the content creates it. Understanding that distinction is the starting point for anyone evaluating, specifying, or purchasing a 3D LED billboard.
What Is a 3D LED Screen?
A 3D LED screen — also called a naked-eye 3D display or anamorphic billboard — is a commercial LED video wall engineered, structurally and electronically, to display forced-perspective content that appears volumetric to the human eye. Unlike cinema 3D, which relies on stereoscopic glasses to send a different image to each eye, a 3D LED billboard produces its effect through a combination of screen geometry, precision content design, and the way human binocular vision interprets depth cues — with no headwear required.
It’s worth separating this from an older category of “3D billboard”: static installations built from foam, plastic, or metal that physically protrude from a flat backdrop. Those achieve depth through real, physical construction. A 3D LED billboard achieves the same visual outcome digitally, on a flat electronic surface, which is what makes it reprogrammable, animatable, and far more scalable for ongoing ad campaigns.
Why Do 3D LED Billboards Look So Real?
The realism comes down to three things working together, not one single trick.
1. Binocular Parallax and Forced Perspective
Content creators build video using forced-perspective techniques: objects are intentionally stretched, skewed, or distorted in the raw footage so that from one predetermined “hero” viewpoint on the street, the distortion resolves into a convincing sense of depth. This exploits the same parallax cues your brain uses to judge distance in the real world — except here, the depth is entirely visual rather than physical.
2. Corner and L-Shaped Screen Geometry
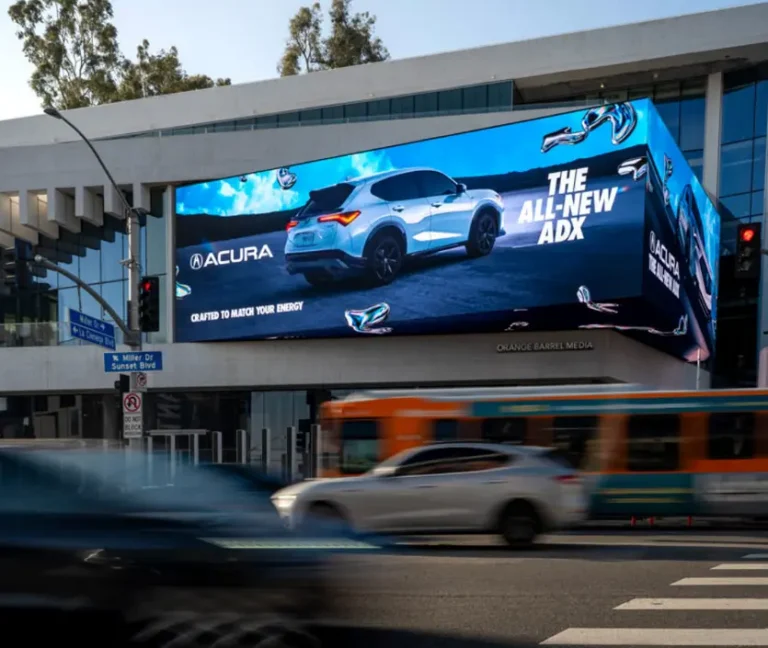
Most viral 3D billboard installations share one physical trait: the screen wraps around a building corner at roughly 90 degrees, forming an L-shaped (occasionally U-shaped) configuration. When two LED panels meet at a right angle, the brain stops perceiving two separate flat surfaces and instead reads a single volumetric “window.” Content rendered to match that geometry can appear to extend behind the screen plane or burst forward past it — the corner becomes the anchor point for the entire illusion.
This is precisely why off-the-shelf outdoor LED cabinets don’t work for 3D installations. The corner modules require custom fabrication to achieve a seamless right-angle junction, because the engineering tolerance is unforgiving: a gap as small as 1mm at the corner joint is enough to break the illusion for most viewers. Any commercial LED supplier proposing a 3D corner billboard without discussing custom corner cabinetry is skipping a step that determines whether the effect works at all.
3. Viewing Distance and the “Hero Viewpoint”
Because the illusion only resolves from one designed angle, placement is not arbitrary. Most large-format outdoor 3D installations are optimized for a viewing distance of roughly 20–50 meters, with the camera or pedestrian sightline calculated during the design phase — not adjusted after installation. This is also why 3D billboards consistently show up at high-footfall intersections, plaza entrances, and transit hubs: the location has to deliver a predictable, repeatable hero viewpoint for passersby.
How Do 3D LED Billboards Actually Work? (Hardware Breakdown)
At their core, 3D billboards combine three technical layers: display hardware, a control/processing system, and anamorphic content. Here’s what a properly specified system looks like.
Pixel Pitch
Pixel pitch — the distance between adjacent LED pixels — determines resolution and, indirectly, cost.
- Outdoor corner installations (viewers at 20–50m): 6mm to 12mm pitch is the practical working range. Going finer than necessary just inflates cost without a visible quality gain at that distance.
- Indoor or close-viewing installations (retail, transit concourses, airport halls where people pass within arm’s reach): fine pitch in the 2.5mm to 4mm range is standard.
A useful rule of thumb: a 10mm pitch display viewed from 35 meters looks nearly identical to a 6mm pitch display at the same distance, but the 6mm option can cost 30–40% more and draw significantly more power. Matching pixel pitch to actual viewing distance — not oversizing “for safety” — is one of the simplest ways buyers control cost without sacrificing visual quality.
Brightness (Nits) and Weatherproofing
Outdoor 3D billboards compete directly with sunlight, so brightness specifications are non-negotiable:
- Outdoor displays: 5,000–10,000 nits, depending on ambient light exposure and orientation.
- Indoor displays (malls, airports, retail): 1,500–2,500 nits is generally sufficient.
Weatherproofing follows a similar split: outdoor front-facing panels should carry an IP65 rating at minimum, with rear enclosures at IP54 or better. A supplier proposing IP54 protection on an outdoor-facing panel is cutting a corner that typically surfaces as moisture damage or corrosion within one to two years.
Refresh Rate
- Camera Flicker: Visible black bars (rolling shutter effect) when filmed.
- Content Loss: Fast-moving content may appear blurry or tearing.
- Not Broadcast Ready: Unsuitable for professional live streaming or TV.
- Flicker-Free: Crystal clear image on all cameras (1/2000s+ shutter speed).
- Smooth Motion: Perfect for fast video playback and sports.
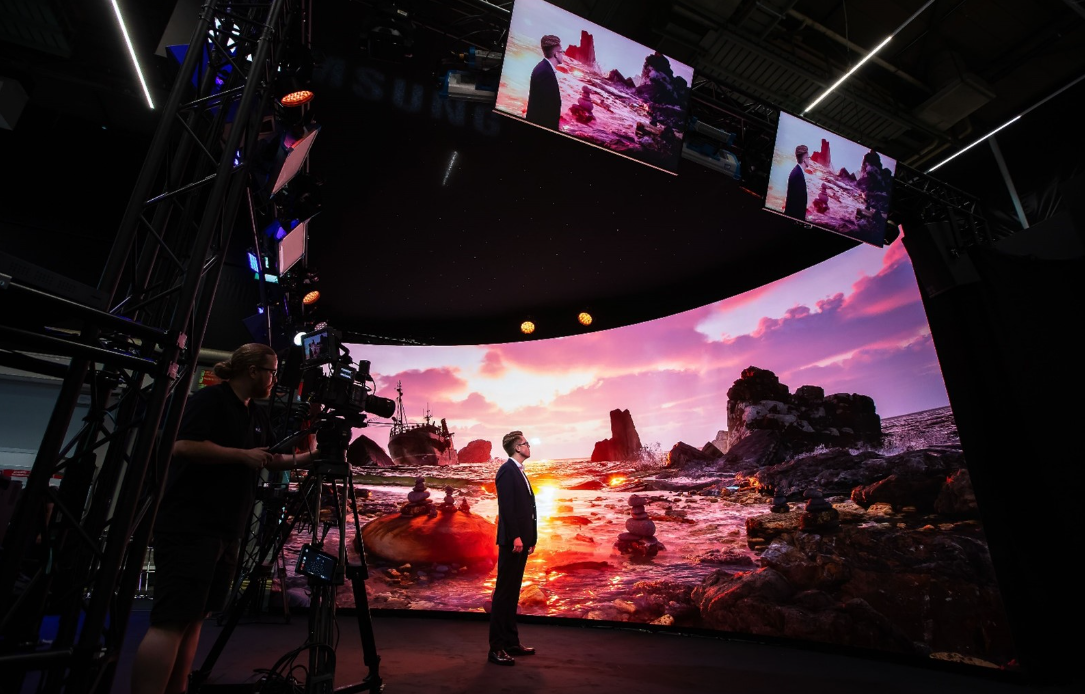
- XR Ready (7680Hz): Essential for virtual production and XR studios.
Refresh rate matters more on a 3D billboard than on a standard advertising screen, because these installations get filmed constantly by passersby on smartphones. A display that flickers or shows scan lines on camera undermines the exact viral moment the installation was built to generate. Aim for 3,840Hz minimum, and go to 7,680Hz if the installation is likely to appear in professional broadcast footage.
Control Systems and Frame Synchronization
Corner and curved 3D configurations require more than a standard LED controller. Industry-standard control architectures — such as those built around NovaStar sending/receiving card systems — coordinate multiple graphics outputs across the corner junction so the two (or more) physical LED surfaces stay perfectly frame-synchronized. Without precise sync, the corner seam visibly “tears” during motion, which breaks the volumetric illusion instantly. Professional 3D installations also typically use high-color-depth video decoders (rather than standard decoders) to preserve the smooth gradients and shadow detail that sell the depth effect.
How 3D Anamorphic Content Is Made
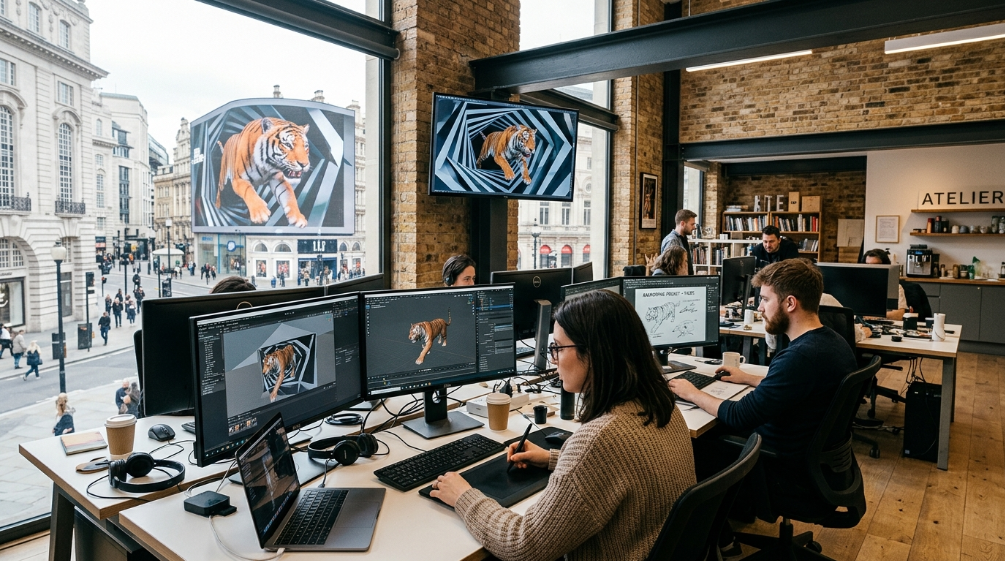
The hardware only sets the stage — the illusion is created by the content itself.
- Concept and camera matching: Designers plan the shot from the exact hero viewpoint the installation will be viewed from, since the whole effect depends on that single vantage point.
- 3D modeling and animation: Using professional 3D software, artists build the scene — a wave, a creature, a product — with depth, lighting, and shadow calculated as if it were a real object occupying the corner space.
- Anamorphic distortion (rendering): The 3D scene is rendered and deliberately warped so that, viewed flat-on from any other angle, it looks stretched or broken — but from the hero viewpoint, it snaps into a convincing volumetric shape.
- Loop and pacing design: Because most viewers only watch for a few seconds while walking past, effective anamorphic content reads clearly within 1–2 seconds: one hero object, a clean background, and a short, repeatable loop.
- Calibration on-site: After installation, content is fine-tuned against the physical screen geometry — corner angle, panel curvature, and actual viewing distance rarely match the render environment exactly, so a calibration pass is standard practice.
Real-World Examples
- The WAVE, Seoul (Coex K-Pop Square) — one of the most widely referenced anamorphic corner installations, using a large L-shaped LED surface to simulate a hyper-realistic ocean wave breaking within the building corner.
- Cross Shinjuku Vision, Tokyo — a landmark curved outdoor display known for its 3D cat and other characters appearing to leap from the screen; notably, it prioritizes scale and viewing distance over ultra-fine pixel pitch, illustrating that pitch selection should always follow the viewing scenario rather than a blanket “smaller is better” assumption.
- Piccadilly Circus, London — large-format LED screens using forced perspective to make products appear to fly toward pedestrians on the street below.
3D Billboard Price: What Does It Actually Cost?
Pricing on 3D LED billboards is not transparent industry-wide — manufacturers rarely publish list prices, and two quotes for the same square meterage can differ by 30–40% depending on brand origin, control system, and corner fabrication complexity. That said, planning ranges based on typical component-level builds look roughly like this:
| Installation type | Typical specification | Estimated cost (hardware + install) |
|---|---|---|
| Small indoor 3D display | 15–25 m², fine pitch 2.5–4mm, single media player | $80,000 – $200,000 |
| Medium outdoor corner display | 10–50 m², 6–10mm pitch, custom corner cabinets | $150,000 – $400,000 |
| Large landmark installation | 50+ m², premium location, broadcast-grade refresh rate | $400,000 – $1,000,000+ |
Several factors move a project between the low and high end of a given band:
- Pixel pitch — the single largest cost driver; finer pitch multiplies LED chip count.
- Corner/curved fabrication — custom right-angle or curved modules cost meaningfully more than flat off-the-shelf cabinets.
- Brightness class — pushing beyond 8,000 nits increases both component cost and power/thermal management requirements.
- Control system complexity — multi-card frame synchronization for seamless corner playback adds cost over a standard single-surface controller.
- Content production — bespoke 3D modeling, animation, and on-site calibration are typically quoted separately from hardware and can range from a few thousand to well over $50,000 for a hero campaign asset.
These figures generally cover hardware and installation; ongoing content production, media buying (if the site is leased rather than owned), and maintenance are usually separate line items.
Static 3D Billboards vs. 3D LED Billboards
It’s worth clarifying a distinction that trips up a lot of first-time buyers. A static 3D billboard is built from physical materials — foam, plastic, sculpted metal — that genuinely protrude into three-dimensional space from a flat backdrop. It requires no electronics and no ongoing content updates, but the creative is fixed once built.
A 3D LED billboard achieves the equivalent visual outcome digitally, using a flat display surface and anamorphic content. The tradeoff is the reverse: higher upfront hardware and content investment, but the ability to swap creative on demand, run multiple campaigns per year on the same structure, and animate motion and lighting effects that a static build simply can’t replicate.
Actionable Advice for Procurement Decision-Makers
If you’re evaluating a 3D LED billboard purchase or a screen-supply RFP, a few checks separate a display that will actually work from one that won’t:
- Ask for corner cabinet fabrication details, not just panel specs. A supplier quoting only “6mm pixel pitch, IP65” without addressing corner seam tolerance and custom module fabrication hasn’t scoped the actual challenge of a 3D installation.
- Match pixel pitch to real viewing distance, not to marketing claims about “4K” or “8K.” Oversized fine-pitch specs for a 30-meter viewing distance waste budget that would be better spent on brightness or control system quality.
- Confirm the control/processor architecture explicitly — ask how multi-panel frame synchronization is handled at the corner junction, and request a reference installation where it’s been proven at scale.
- Verify brightness and IP ratings against your actual site orientation, not generic outdoor defaults — a west-facing façade in direct afternoon sun needs different specs than a shaded plaza corner.
- Separate hardware cost from content cost in every quote. Anamorphic content design is a specialized (and often underestimated) line item; a low hardware quote paired with vague or missing content-production costs is a common way total project cost balloons later.
- Request a calibration and testing phase in the contract, not just installation. On-site calibration against real screen geometry is what turns a technically correct render into a working illusion on the street.
A well-specified 3D LED billboard is a genuinely powerful engagement tool — but only when hardware geometry, control systems, and content are planned together from day one, rather than treated as three separate purchases.